Taking amazing travel photos with your iPhone camera is easier than you think. In this post, I’ll share simple steps you can take to dramatically improve your travel photos. These simple steps will help both novice iPhone camera users and anyone who wants to leave their bulky camera at home.
First, let’s start by taking a look at what not to do when taking travel photos on your iPhone.

What NOT To Do When Taking iPhone Travel Photos
Don’t Zoom In Or Out
When you zoom in on an iPhone your image will lose clarity and vibrancy. Instead, move closer to your subject or crop the photo when editing.
Newer iPhones come with an ultra-wide lens, also known as .5. This lens allows you to zoom out and fit more scenery in your photo. However, the wide angle can distort lines and faces resulting in odd looking photos. This is a fun feature to play around with for a creative photo, but make sure you get non-zoomed photos too.
Don’t Center Your Subject In Every Photo
It’s natural to place your subject in the center of your photo. That’s why the iPhone automatically focuses on the element in the center of the frame.
To create more visual interest, try positioning your subject in the left or right third of your photo. Tap your subject on the phone screen to show the camera where to focus.
Don’t Use Filters or Social Apps When Taking Photos
It’s tempting to use filters when taking photos, especially when they correct lighting issues. However, filters and social apps permanently alter and compress photos and videos. This results in a lower quality image. It’s best to apply filters when editing your photo or posting to social media.
Don’t Use The Live Photos Feature
Live Photos records 1.5 seconds before and after you take a picture. The still picture is high quality, but the 3 seconds of video is compressed and lower quality. The file is twice the size of a regular photo, but only contains one high quality photo. Live Photos is fun for creating boomerangs and loops, but not ideal for capturing great travel photos. How to turn off Live Photo on iPhone.
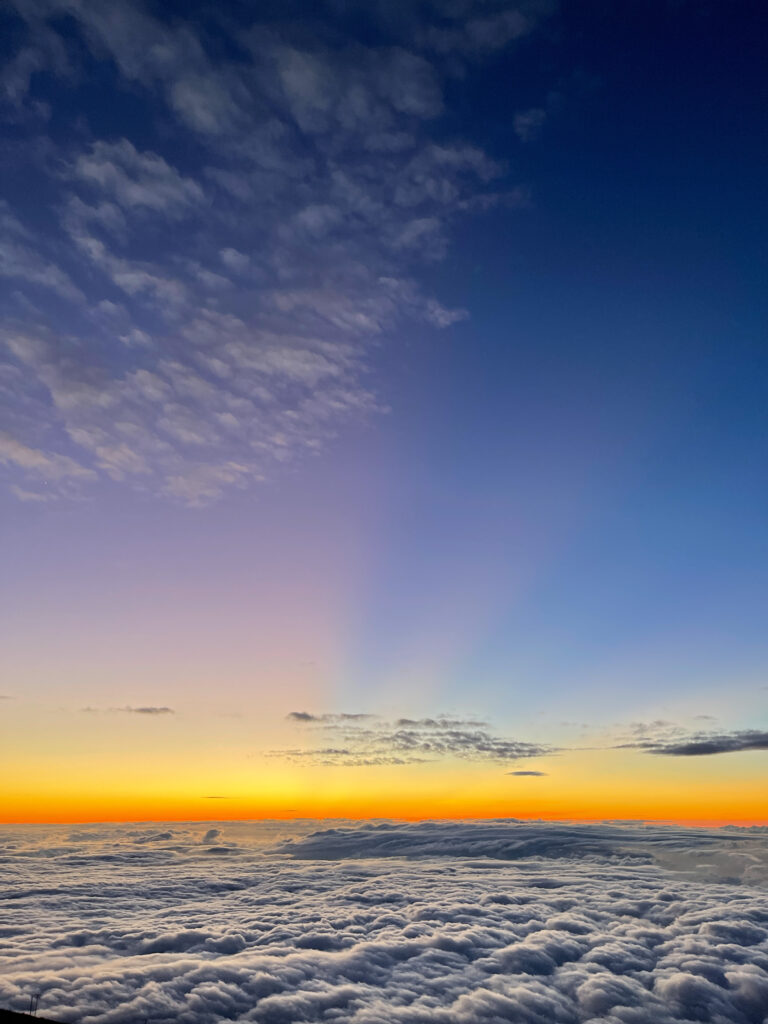
Now that we’ve covered what not to do, let’s look at the changes you can make to improve the quality of your travel photos. I’ll focus on three key areas that will help you take better travel photos – Composition, Lighting, and iPhone Settings.
When I use the term ‘travel photo’, I’m referring to the traditional outdoor photos taken of landscapes, landmarks, and people in these settings. There are countless ways to adjust your iPhone to take creative photos, but this post only addresses the ‘traditional travel photo’.
How To Compose Better Travel Photos
Composition oversimplified is what you choose to include in your photo and how you include it.
Use Camera Grid To Straighten And Compose Photos
The iPhone camera comes with a tic-tac-toe-style grid feature. Turn the grid on and use it to ensure your photo is straight. Line up buildings and horizons using the horizontal and vertical gridlines to avoid a ’tilted’ photo. How to turn on camera grid.
The grid also allows you to apply ‘The Rule of Thirds’ when composing your photo. The Rule of Thirds is a way to compose your photo by placing your subject in the right or left third of the photo. Since your iPhone camera grid divides the screen into thirds horizontally and vertically, you can easily apply this rule by placing your subject on one of the gridlines.

Add Depth To Your Photo
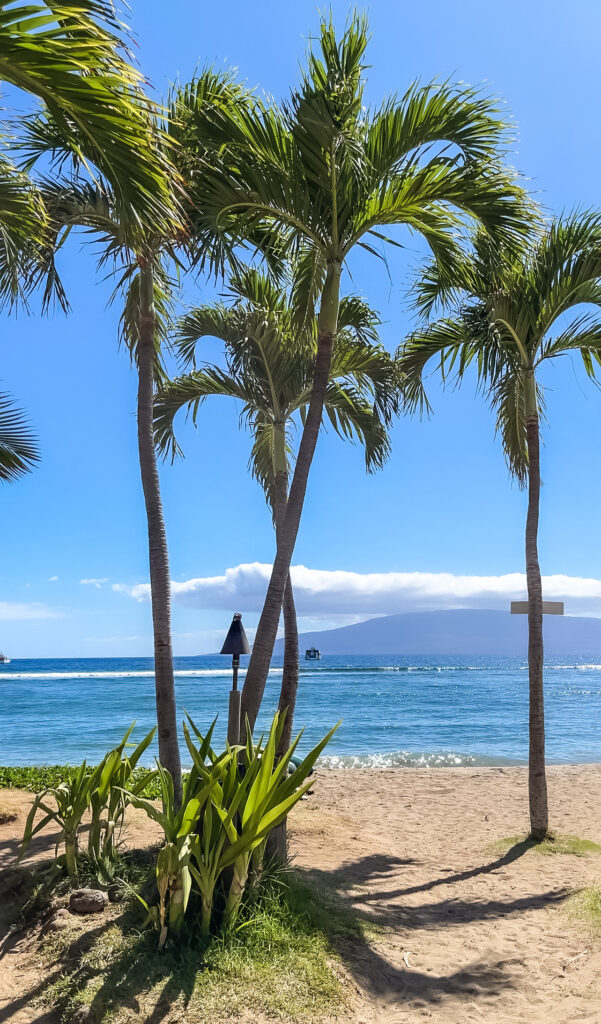
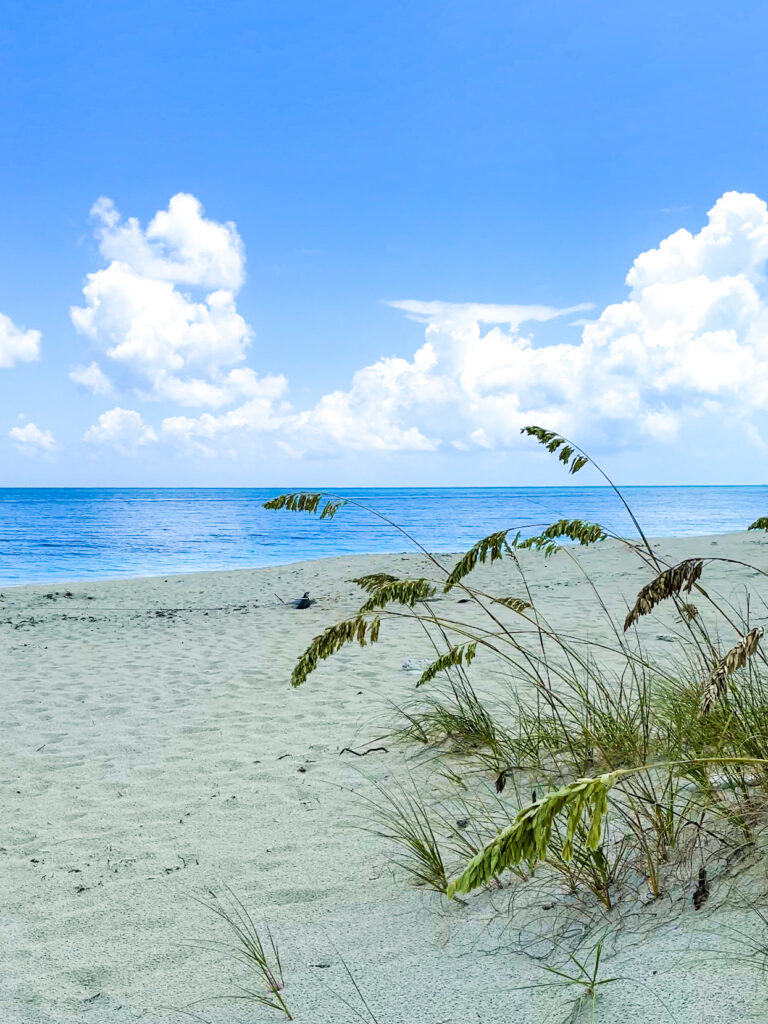
Add depth and dimension to your photo by including elements in the foreground, midground and background. This creates movement in the photo and adds perspective.
Change Your Point Of View
Start by backing up. Before you take a picture, back up to create extra space around the border. Make sure you can see the sky above the mountains or the ground below your subject’s feet.
Change the perspective by changing the angle of the photo. Take a variety of shots, high and low. Low angles are a great way to show the distance between the foreground and background.
If there is water in front of your subject, lower your camera closer to the water to capture your subject and its reflection.
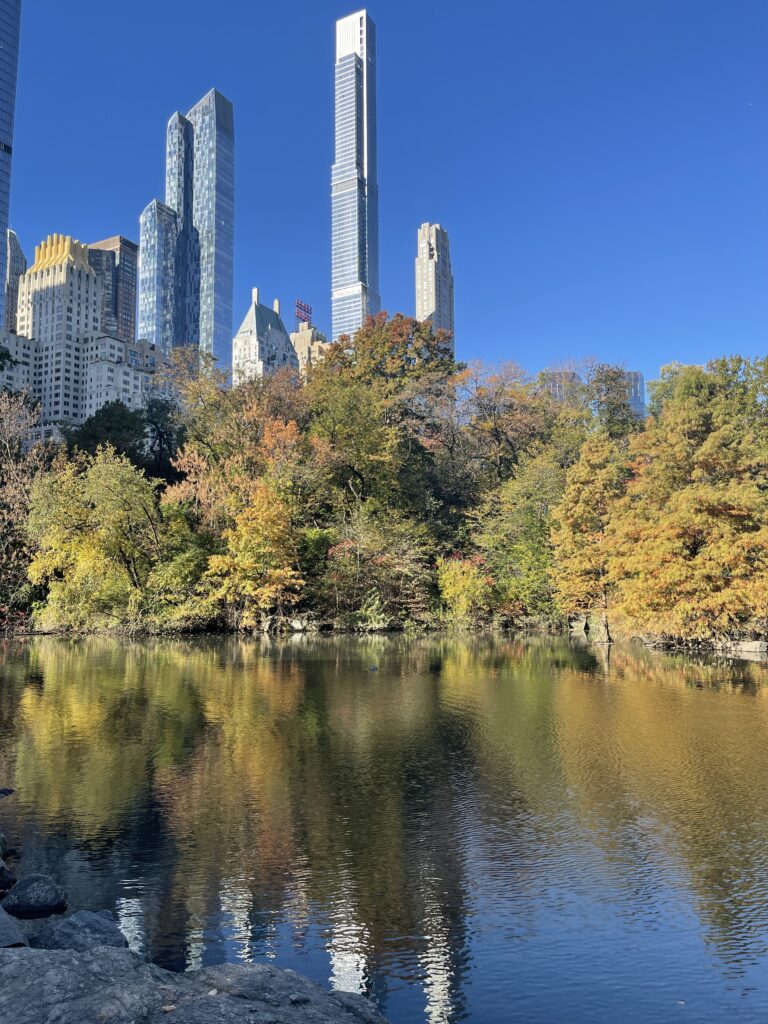
How To Take Better Travel Photos In Outdoor Lighting
Now that we’ve addressed what not to do and how to compose a better travel photo, let’s take a look at how to work with lighting in travel photos.
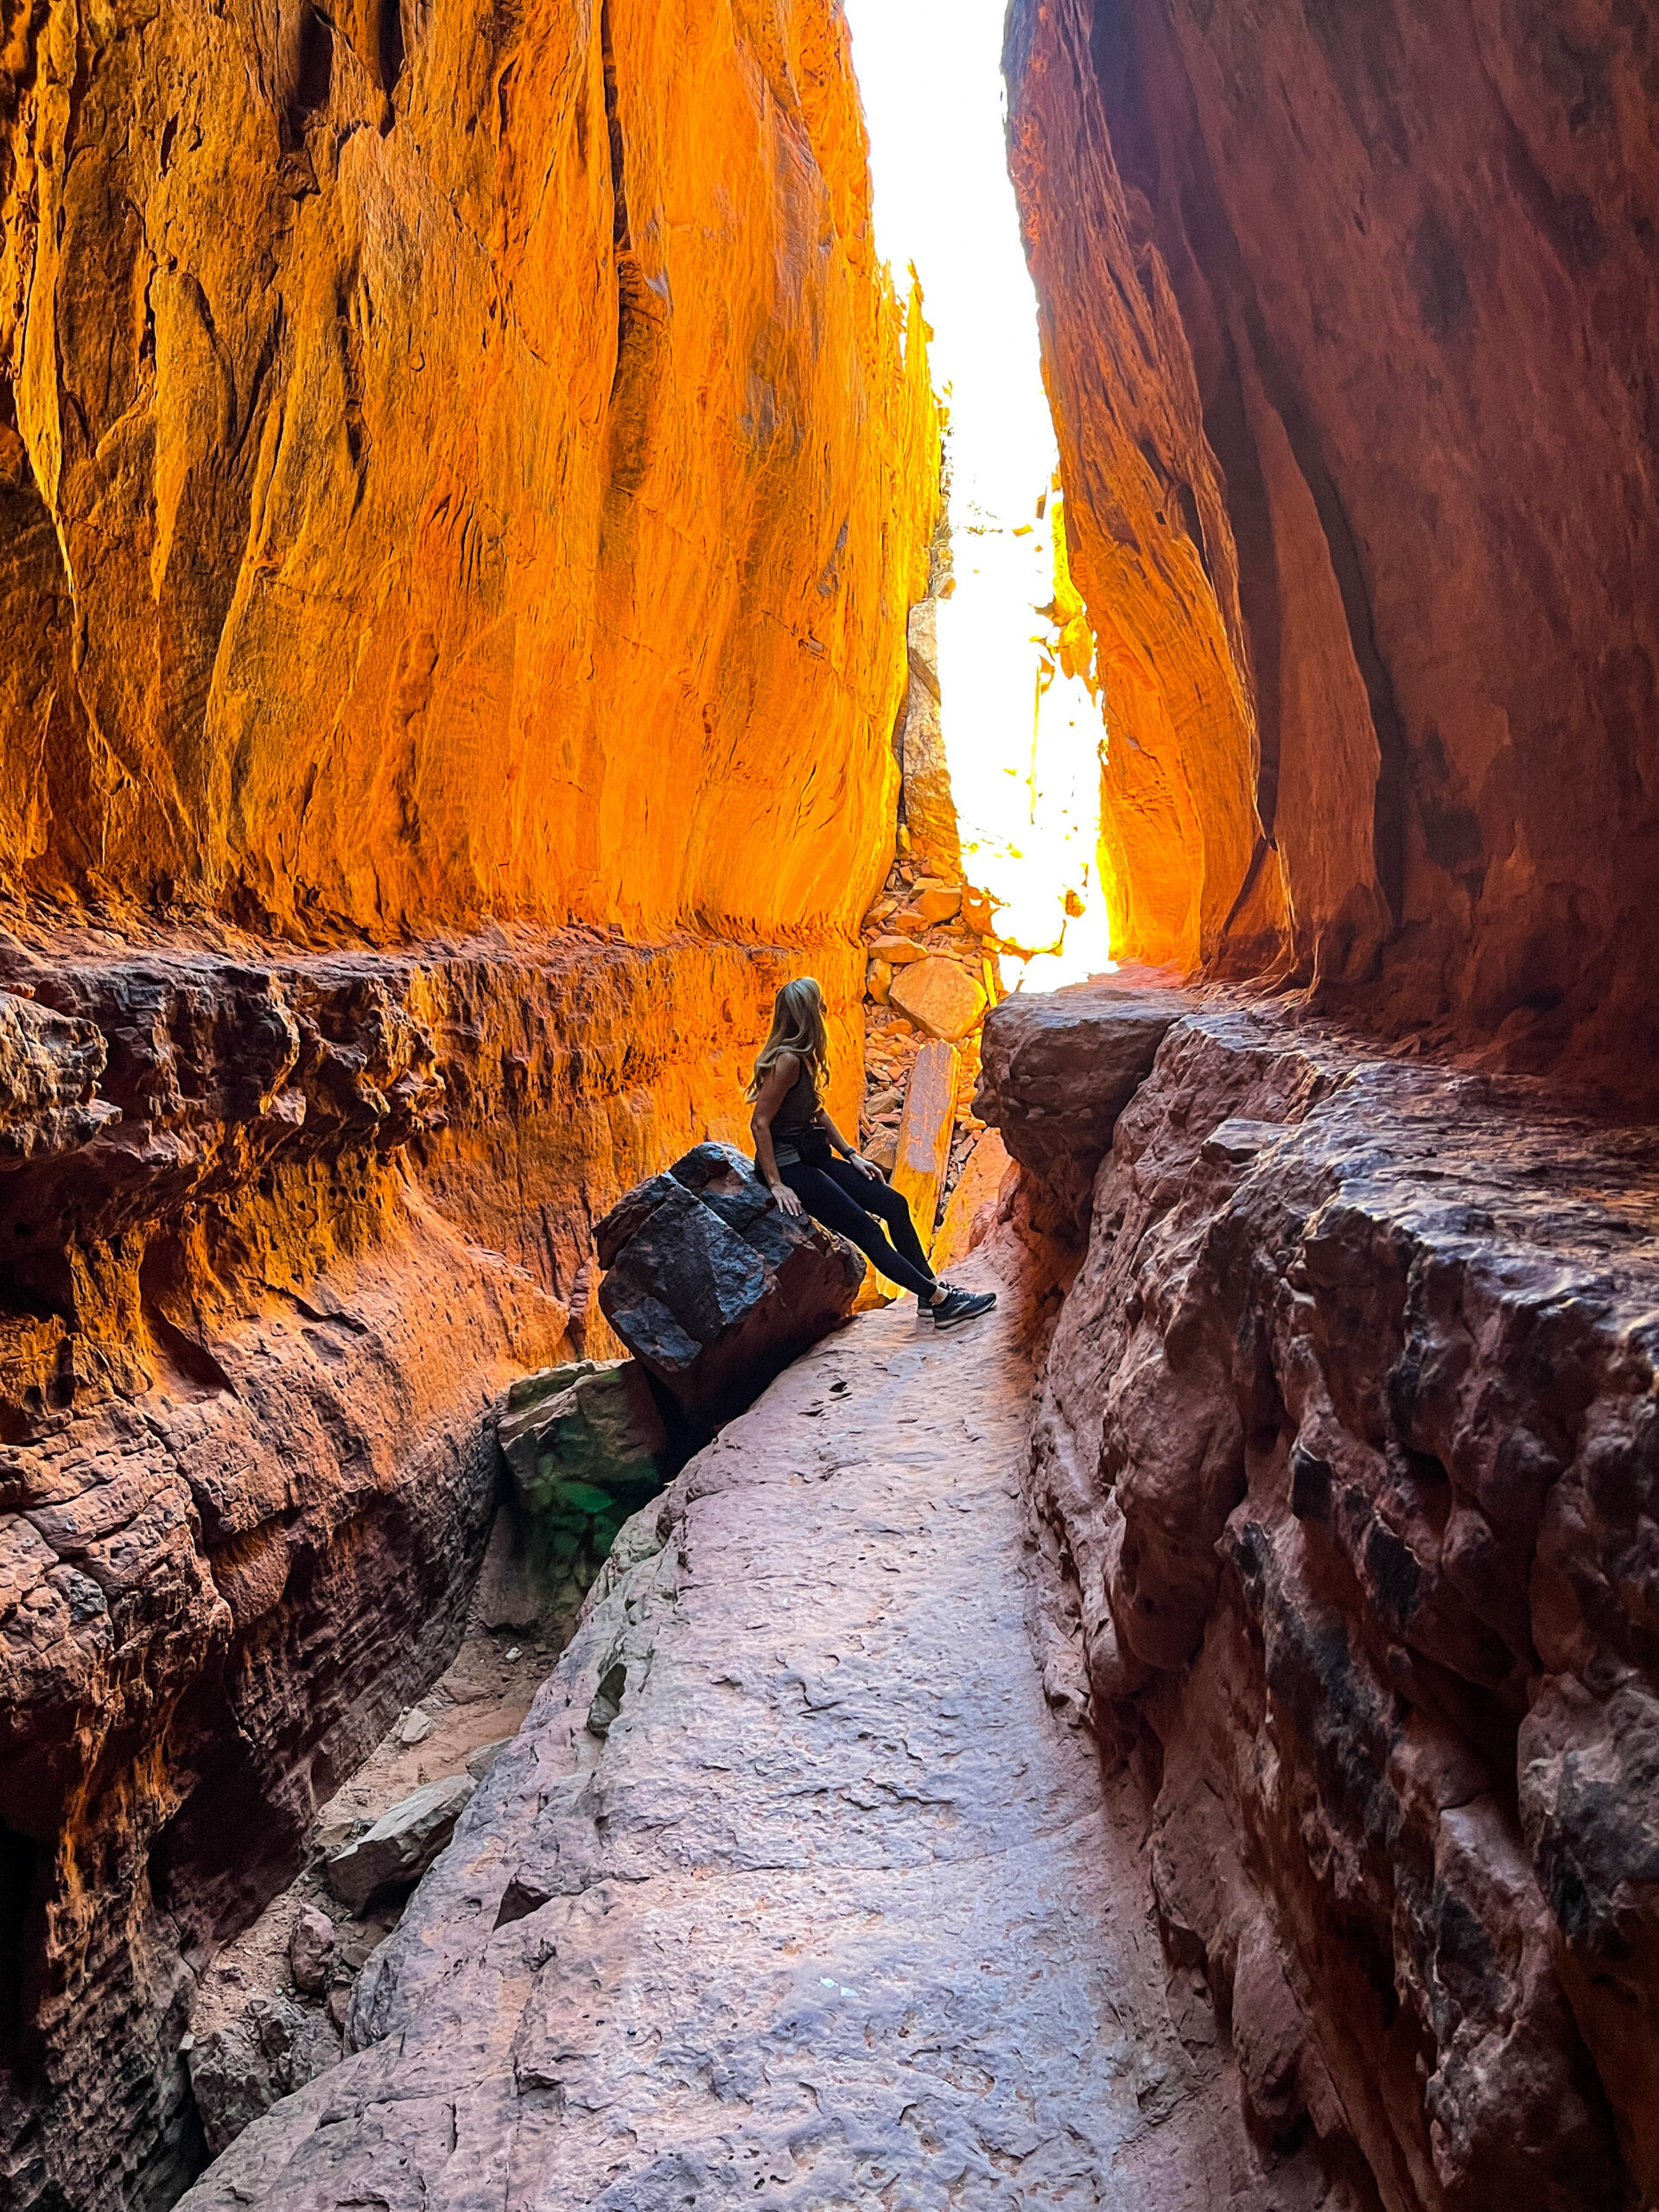
When Is The Best Time Of Day To Take Tavel Photos
Sunrise and sunset are undoubtedly the most stunning times to take pictures. The sun paints the sky and landscape in vibrant colors, while casting perfectly diffused light. Midday sun usually washes out the landscape and casts harsh shadows, but it can also enhance blues in the sky and water.
With a little online research you can usually find out the best time of day to photograph your travel destination. But, if you’re like me, you can’t plan your whole trip around the best time to take photos.
Here are a few ways to work around outdoor lighting issues.
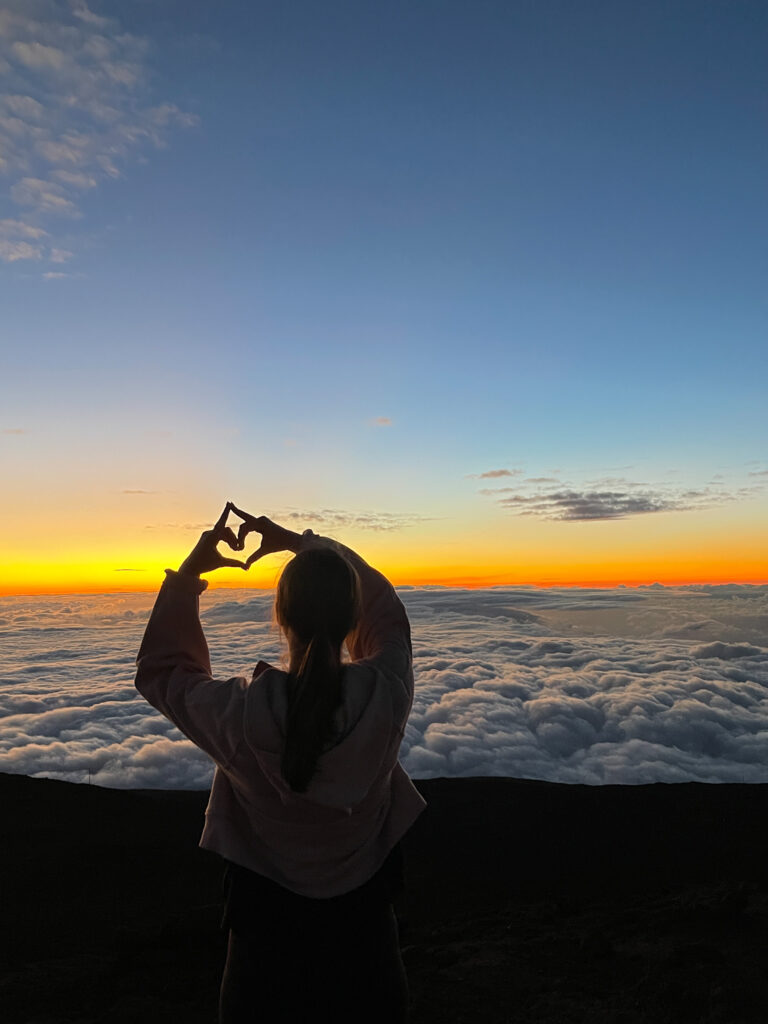
Turn Your Subject Around
If you’re taking a photo of someone and their face is shadowed or the bright sun is making them squint, turn them around.
Low light is the perfect time to capture a silhouette. Ask your subject to move around naturally and position the light source behind them. Make sure your flash is turned off.
Move To Full Shade
If the sun is casting hard light or odd shadows on your subject, move to a fully shaded spot.
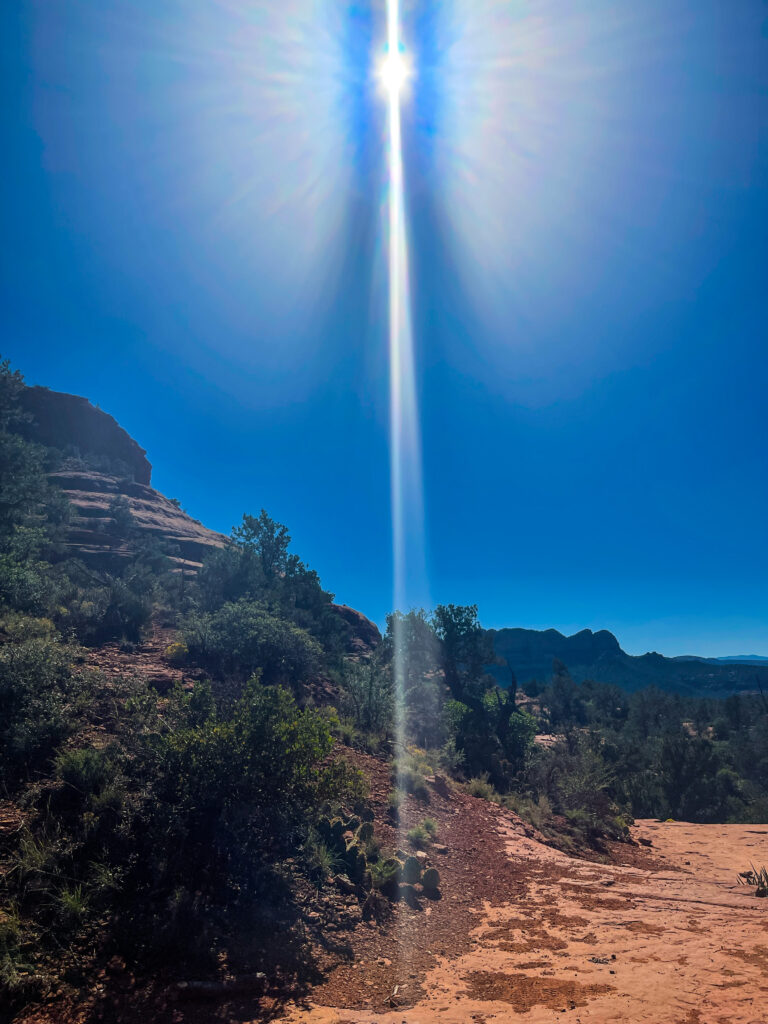
Position The Sun In Your Photo
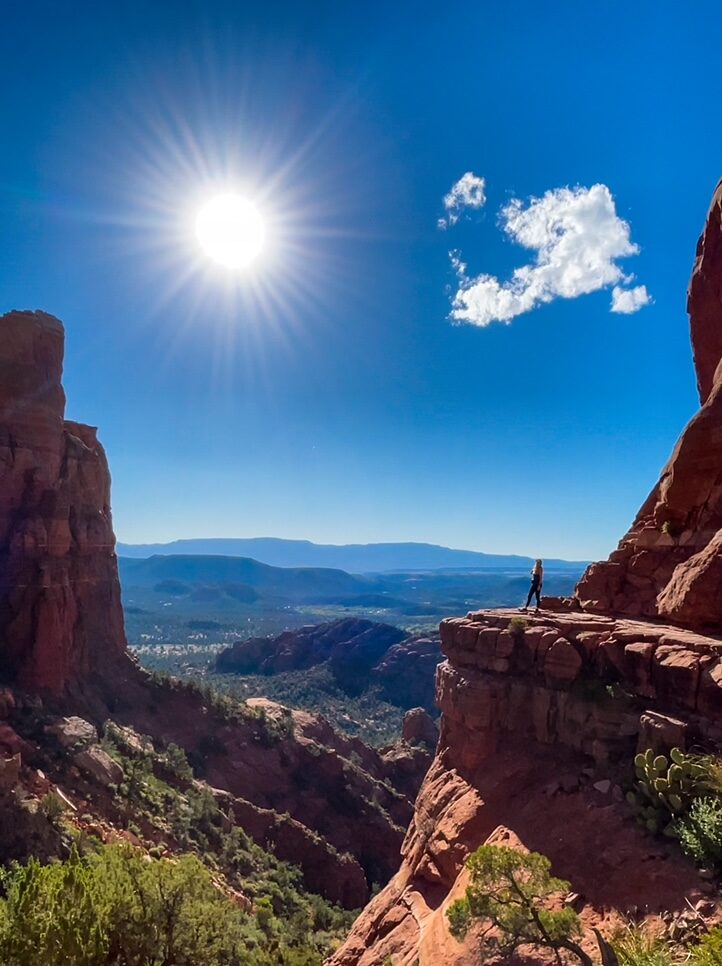
The sun can do wonderful or weird things to a photo. Play around with it.
Use Portrait Mode
When photographing a person, I always take a regular photo then switch to Portrait for a second option. Tap the 2.5x in the bottom left screen to switch to 1x – no zoom. You can adjust the amount of background blur while editing your photos later.
How To Adjust iPhone Camera Settings To Get Better Picture Quality
The final adjustment to start taking better travel photos with your iPhone is to change your camera settings.
How To Adjust Your iPhone 12 Camera Settings
You can change your camera settings two ways. The first is to open your Camera app and temporarily change the settings. Press the arrow at the top of the screen to display more options. When you close the app, the settings will return to their default.
The second way is to open Settings from your home screen, select Camera, and change your settings. You can return the settings to their default after your trip. I prefer the second option so I don’t have to make the changes every time I open the Camera app. How to return iPhone camera settings to default.
I will warn you that some of these changes to your iPhone camera settings will increase the file size of your photos and videos. Check your available storage before you change your settings.
If you do nothing else, WIPE YOUR LENS! Don’t let dirt and fingerprints ruin your photos.
How To Get Better Picture Quality On Your iPhone Camera
Below are my settings for my iPhone 12 camera. My video is set to 4k at 60 frames per second. This is incredibly high and creates huge files. However, I often screenshot photos from my videos and these settings ensure I will have high quality photos. Some of my most popular photos have actually been taken from my videos.

My Settings: From Home Screen open Settings> select Camera
- Formats> Most Compatible (saves image as JPEG)
- Record Video: 4K at 60 fps (produces huge file, try 4K at 30 fps for smaller file) How to record in HD or 4K
- Record Slo-mo: 1080 at 240 fps (produces larger file)
- Record Stereo Settings: On
- Preserve Settings > Camera Mode: On, Live Photo: On
- Grid: On – Helps keep horizon level and improve composition How to turn on iPhone camera grid
- Mirror Front Camera: On
- View Outside the Frame: On
- Scene Detection: On
- Prioritize Faster Shooting: On
- Lens Correction: On
- Smart HDR: On – Camera blends multiple photos with different settings to create higher quality image. Ideal for landscape photos, but not portraits or action. If you set this to ‘off’, you can turn it off/on manually in app. How to turn on/off HDR.
Settings And Available iPhone Storage
There are settings in between your iPhone’s default and what I have selected above that will create smaller file sizes. Play around with it to find what works best for you. And keep in mind most social apps compress photos and videos.
After my trip I always delete bad pictures and videos from my phone and move the rest to my computer. I save only the very best on my phone. It’s also a good idea to save your photos to an external hard drive.
Next up for Kristy Inspired: How To Take Better Travel Selfies – I’ll share the best ways to capture your epic moments without having to ask someone to take a photo of your or your group.
As an avid traveler I’m always seeking new ways to to take better travel photos on my iPhone. I welcome all helpful suggestions and will update this post as I continue to learn. I hope this inspires you!

2 comments
Great pictures!
Thank you!
Comments are closed.